This post was guest blogged by Paul Carpenter. Paul is a creative professional and has been working on the internet since the early 90’s, along with things of a technical nature at Interarchitect.com. He enjoys a variety of hobbies including dabbling in hand-fabricated carbon fiber items. When he’s not knee deep in pixels or carbon dust, he spends his time with his wife Heather and 1-year old daughter Mira.
This is part 2 in a 2-part series. Make sure to check out part 1, entitled “When Vicious Obsessions Collide.”
Oakley has recently let loose that they are creating sunglasses made entirely from carbon fiber. Their first version, the C6 has just been leaked when Lance Armstrong sported a special pair at the recently concluded Tour de France. The rumors are that these most elite pairs in the Oakley Elite lineup may fetch nearly $4,000. As cool as they might be, I will never have that much money to devote to sunglasses.
However, I am a carbon fiber fiend and need a fix, so I thought that I would try to make my own carbon Oakleys. The Juliet is far and away my favorite, so it’s a good place to start.
This post will document my attempt at getting these put together.
Since someone will ask, I get my carbon fiber fabric from eBay, I use West System epoxy for bonding (available at most boating stores) and everything is done by hand with a jewelers saw, dremel tool and sandpapers.
Earstems
First we have to do some basic carbon layup. I measured up my existing earstem with some calipers to get the overall dimensions, cut out pieces from my roll of fabric to get a big enough overall piece, and then started to build up a “block” of compressed fabric from which I can cut the shape. This pic shows the block halfway through. I needed a fair number of layers to get the required thickness.
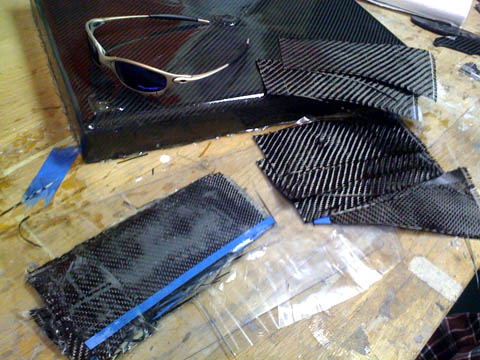
Once that was cured, I traced out my earstem with a scribe and started cutting with my jewelers saw.
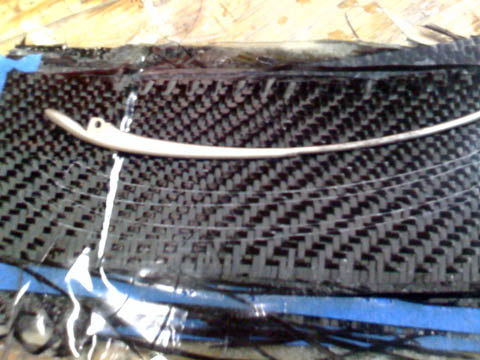
Here we see the rough blank. The next step will be to more accurately shape the “top-down” profile and get that correct, and then move to the side profile. All of this shaping will be done with the dremel or small hand files.
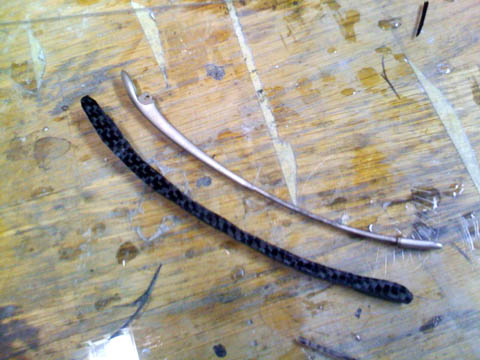
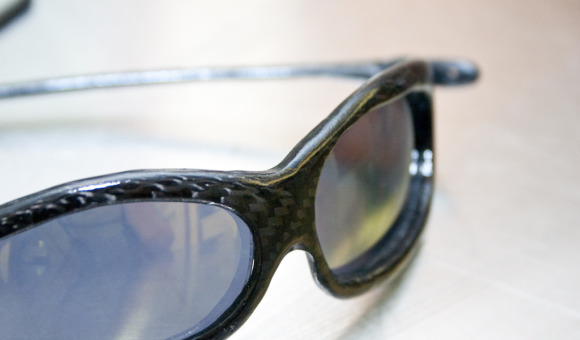
Had a little time to do some work on this and got one of the earstems formed. I need to do a lot of hand sanding to get the finish really smooth and drill the “O” out, but it’s getting there.It’s almost impossible to get a really good picture of the texture in something this small, but when wet (or gloss coated like it will be in the final product) it looks pretty sweet.
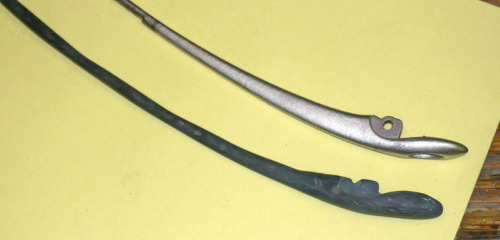
I’m going to get the other side formed up and then do the final finishes and try putting it back together.
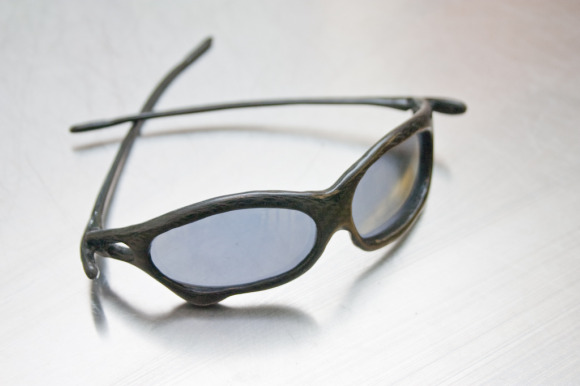
I have both arms done at this point, all they need is some slight sanding and a gloss clearcoat. The carbon texture didn’t come out quite as defined as I’d like, but it still looks pretty cool.
Main Orbitals
I moved on to doing the main body. I disassembled my existing pair and, using some molding clay that I had, formed a two piece mold. I have a top and bottom half, and the plan is to use a fair number of layers to build up the shape at the desired thickness. I will then put the top mold on and give it some pressure, which hopefully will get me a close approximation of the shape. Then it will be a matter of cutting out the shape and profiling all the edges to get the smoother curves. The hardest part will be cutting the inner channel that the lens sits in, but with a steady slow hand, I think I can get that.
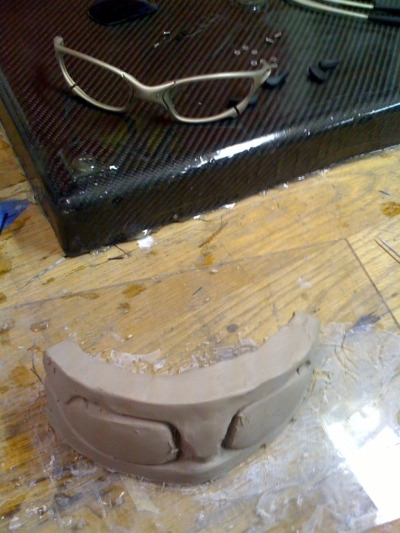

The only thing I won’t try to reproduce is the nosebridge flex point. I might try cutting a slight line to give it the look, but it will be too hard to construct a functional copy of that by hand.
I’m probably going to make a few changes to the overall shape to make it a little simpler to form, but I think this will work. 🙂
I started on the main body and have the primary shape in place and cured up now (with just the first 4 layers). The next steps will be to add probably a dozen more layers to get the overall thickness to where it needs to be. After that, we’ll cut out the overall shape, cut out the lens holes, and then do a little machining to give the edges a rounded profile.I’ll have some time to work on this tonight and hopefully will have a fully cured, full thickness blank to work with tomorrow.
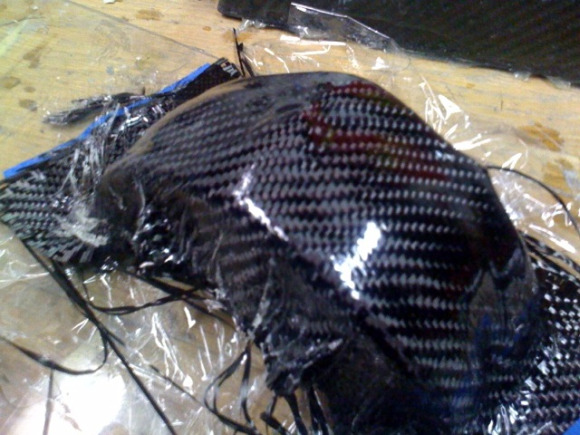
All the carbon is done and it’s time to start shaping everything up. I started cutting the overall shape out this morning but had to go to work (dammit) so I didn’t get it finished, but a half hour of work or so should get the outer profile done.After that, cutting out the lens areas (mildly scary) and the earstem attachment points.

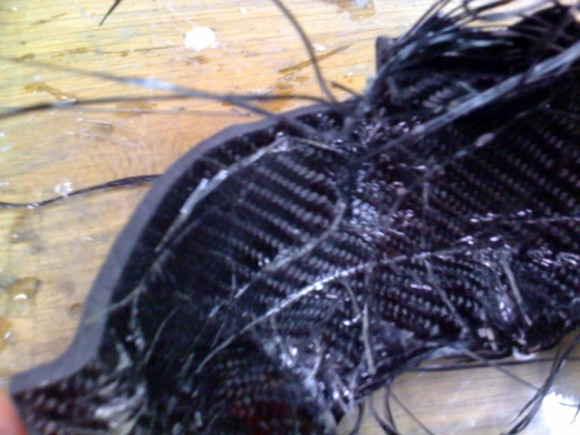
OK, here’s some stuff that will start to look familiar. I got to the point that the overall shape is getting much closer and got one of the lenses roughly blocked out.Here’s the rough blank. You can see the xmetal and carbon earstems in the background, sitting on the carbon briefcase.
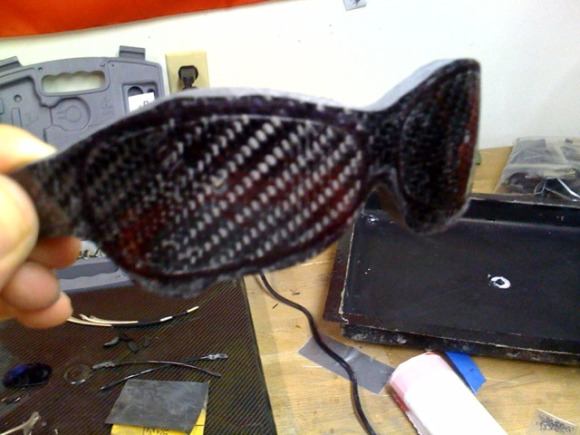
Profile from the top.
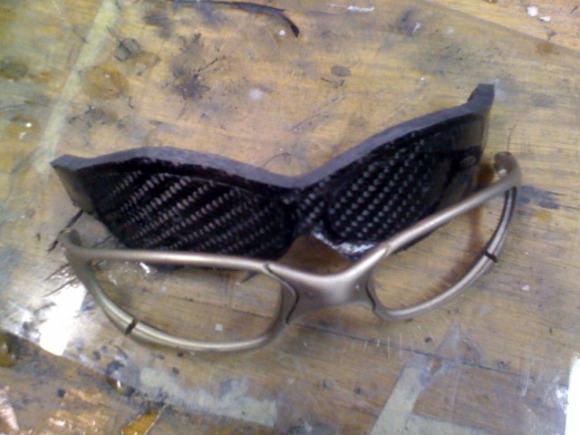
One lens blocked out. The hole will need a lot of hand work to get to the exact size. That will be a slow process, a little at a time. You can cut stuff away, but can’t put it back!
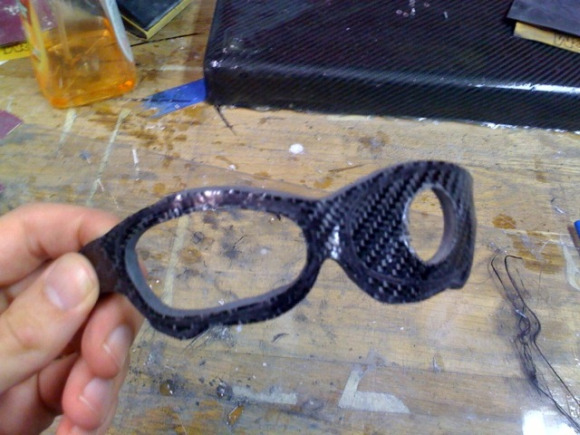
As I continue I’m starting to see some deviations from the Juliet form, so I don’t think I’ll have a 100% accurate reproduction, but it will be close enough to the spirit of the Juliet that I’ll be ok with calling it one.
It’s starting to shape up into some actual glasses now!
I did all the main shaping and profiling and now need to do a LOT of hand finishing with some fine sandpapers to get a really nice and smooth finish. I want to see how they look without clearcoat, as that appears to be what Oakley did on the C6. I need to source some very tiny screws to attach the arms and do a little work on those to make sure they operate smoothly at the right angle.
I still have to do the lens holes. I keep putting that off because it’s scary and I don’t want to mess it up. 🙂 I decided that I don’t want to split the frame like the real Juliets, so I’m going to carve out a hole just slightly smaller than the lens, and then from the backside take a little extra out so I can snap the lens in, kind of like my Switch. I’ve got emerald iridium lenses to plop in there, which should look pretty cool.
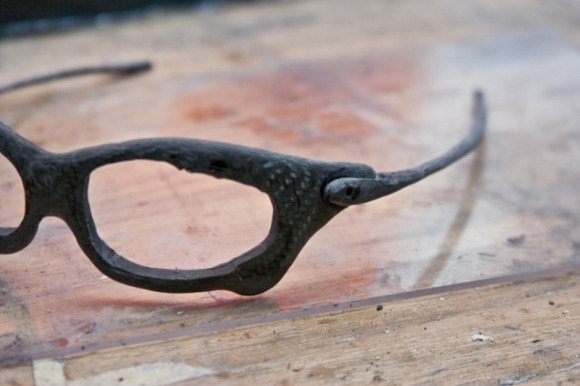
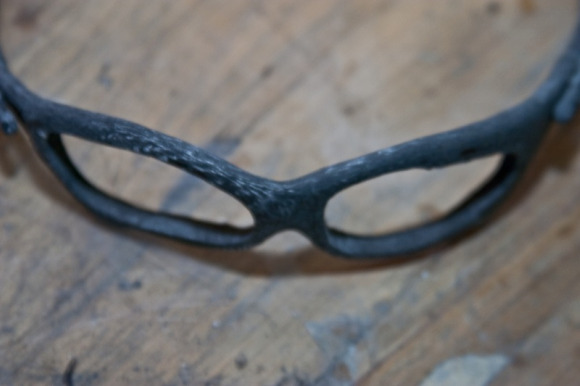
Worked on this a bit more and it’s starting to come together. There are a lot of details on these darn things once you start to examine them carefully.
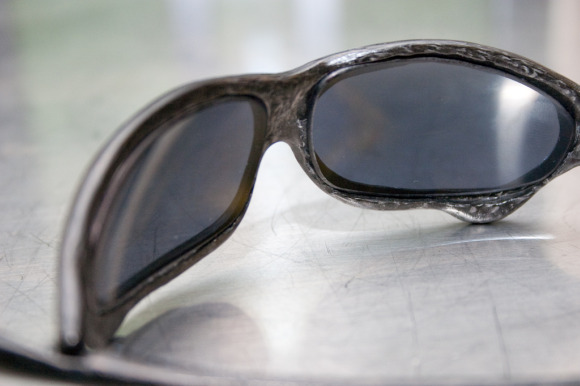
I did an initial 1 hour or so of wet sanding and started to get the surface much close to done. With enough work, I think it will look pretty good without a clearcoat, which is what the C6 appears to be.
I added the machined out area for the temple shock things (proper name is failing me at the moment) and will be able to get those in place with a little customizing. I think I will need to use a little epoxy to rebuild the slot for where the earstem attaches, as I belatedly noticed that the slot has a bit more angle to it which puts the earstem at the correct angle. One side of mine is slightly off.
I made templates for the lenses and taped those in place to get the position right and will start cutting those soon.
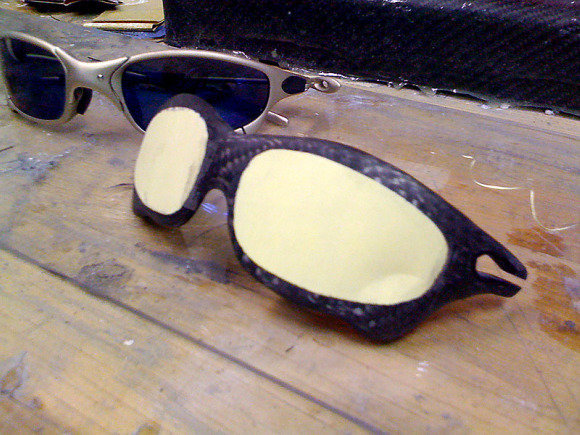
We are getting close now! Spent a solid couple hours last night working on this and got the lenses in. Oy! That was exceedingly hard to do by hand. It looks pretty rough at the moment (because it is) but once I get the rounded profiles wet sanded down this is going to look much better.
My only regret is that on my very first pass last week, I slightly misjudged one corner of the right-side lens and now have a 1 mm gap or so. I need to see if I can make any adjustments to get that covered better. Right now the lenses are just fit in by pressure.
Still, not too shabby I guess.
So the final things will be to drill the hole for the earstem screws, cut the slot for the earstems (and make a few adjustments there to have it operate smoothly) and do the final sanding and finishing.
Provided I don’t do anything really stupid, these will be done soon!
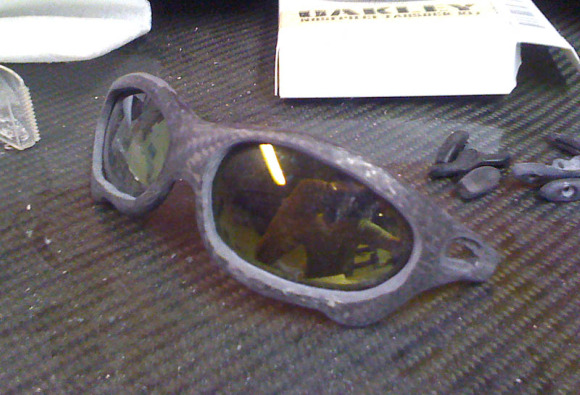
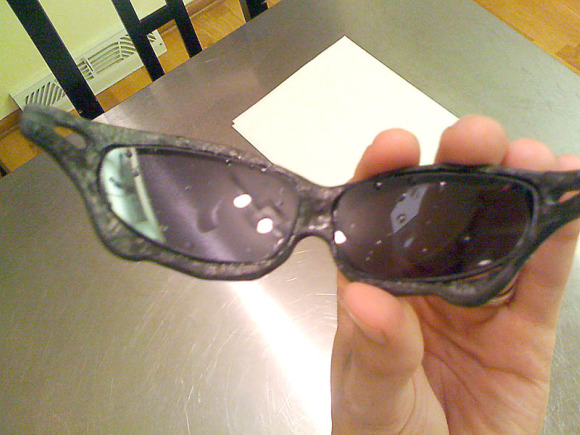
We are just about done. Have just a few more details to attend do, but quite soon I’ll have these in a wearable state. This was a lot of fun to do, and I’ve already got ideas on the next pair!
